Hair Knowledge
Bleaching the Knots: Step-by-Step Tutorial for a Flawless Wig
When it comes to creating the most natural-looking lace wigs, bleaching the knots is a game changer. This technique lightens the tiny knots where each hair strand is tied to the lace base, making them less visible and giving the illusion that hair is growing directly from your scalp. Whether you’re a professional stylist or a lace wig enthusiast, learning how to bleach the knots properly will transform your wig-wearing experience.
I. What Is Bleaching the Knots and Why It Matters?
Bleaching the knots is a process used on lace wigs, lace closures, and lace frontals to make the hairline appear more natural. In their original state, the knots are dark and visible, especially on lighter lace bases. By lightening them, you soften the contrast between the lace and the scalp, making the hairline blend seamlessly.

Why it matters:
-
Creates a more realistic scalp appearance
-
Reduces the grid-like look of lace
-
Ideal for clients who want an undetectable finish
-
Especially important for high-end lace wigs used in photoshoots, performances, or everyday wear
II. Tools and Materials You’ll Need for Bleaching the Knots
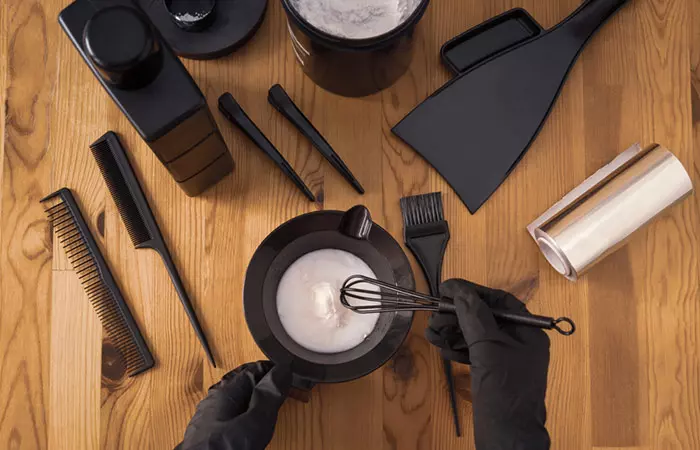
Before starting your bleach knots wig tutorial, gather the following materials:
-
Bleach powder – specifically designed for hair use
-
Developer – usually 20 or 30 volume, depending on desired lightness
-
Mixing bowl & tint brush – for even application
-
Aluminum foil – to trap heat and speed processing
-
Gloves – protect your hands from chemicals
-
Neutralizing shampoo – stops the bleaching process
-
Conditioner – restores softness after bleaching
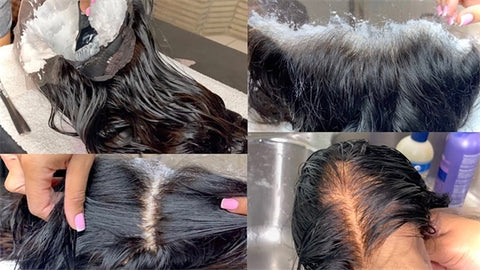
III. How to Bleach the Knots on a Lace Wig – Step-by-Step Guide
Step 1: Prepare the Wig
Place your lace wig on a mannequin head and secure it with T-pins. Ensure the hair is brushed back so bleach doesn’t get on the strands.
Step 2: Mix the Bleach
In a mixing bowl, combine bleach powder and developer in a thick, creamy consistency. The mixture should not be runny — this prevents bleach from seeping through and damaging the hair.
Step 3: Apply the Bleach
Using a tint brush, gently dab the bleach mixture onto the lace where the knots are visible. Apply with light pressure to avoid pushing bleach into the roots.
Step 4: Process Time
Cover the bleached area with aluminum foil. Let it process for 15–30 minutes, depending on the lace color and knot density. Keep checking to prevent over-bleaching.
Step 5: Rinse and Shampoo
Rinse thoroughly with cold water. Use a neutralizing shampoo to stop the chemical process and restore the lace’s pH balance.
Step 6: Condition and Dry
Apply conditioner to the hair and rinse gently. Let the wig air dry or use a blow dryer on a cool setting.
IV. Common Mistakes When Bleaching Knots (and How to Avoid Them)
(Keyword: bleaching knots on lace wig)
-
Over-Bleaching: Weakens hair strands and shortens the wig’s lifespan. Always check the progress frequently.
-
Bleach Seeping Into Hair Roots: Causes unwanted discoloration. Avoid pressing too hard when applying bleach.
-
Skipping Neutralizing Shampoo: Can cause ongoing damage if bleach isn’t fully deactivated.
-
Using Too High Developer: Risks lace damage and hair breakage. Stick to 20 or 30 volume only.
V. Aftercare Tips for Bleached Knots
To maintain your wig’s beauty after bleaching the knots:
-
Use leave-in conditioner to keep the hair hydrated
-
Limit heat styling to prevent dryness
-
Wash gently to avoid loosening the knots
-
Store the wig on a stand to preserve shape
Conclusion
Bleaching the knots is a small but powerful step in achieving a flawless lace wig. By lightening the knots, you create a more realistic, scalp-like look that elevates your entire style. With the right tools, patience, and technique, you can bleach your wig knots like a pro — or invest in pre-bleached lace wigs for convenience.